Monday, November 26, 2012

Lego Party

My turkey turned six on Thanksgiving, so we had his party on Sunday at the local Lego store.  It sure was a blast.  Being a sort of quiet guy, we just invited a few of his friends and savored the day- in more ways than one! Like his brother's cake a few years ago, we did the whole candy Lego design. This cake really is fun and easy to make.  I just buy candy melts at Michaels, melt them on the stove, and pour them into my little old silicon lego ice cube tray.  We picked it up at Legoland a few years ago for like $6. What a great investment it has been.  If you would like to own one but can't make it all the way to the theme park, they are usually on ebay now and then.

Cake: chocolate fudge.  Filling: Oreo cream

Sunday, November 11, 2012

Snorkels and ninjas, oh my!


Well, another kooky cake weekend here.  This week's line-up is quite fun!  We have a scuba or, probably more accurately, a snorkel cake followed by ninja star cupcakes!  Don't these just look like fun!

I got the cake idea from some google surfing.  Same ole butter cream and marshmallow fondant.  And the cupcakes are for a ninja party- topped with with some white/vanilla/gray chocolate ninja stars.


Monday, October 22, 2012

Here kitty, kitty!

I love cats, and so I was really excited when I was asked to make a cat cake for a darling little girl's birthday.  And not only was there a mama cat, we needed 48 kitten cupcakes to go with her! That's one busy kitty!!

So I went ahead and baked two 8" rounds, a 4" round, and two cupcakes to make the mama cat.  I sliced the cupcakes in half and used them as the kitty's cheeks and cut two triangles out of the 4" round for her ears.  I filled and frosted the main cake then placed the cupcake cheeks on top.  Then, using lollipop sticks I secured the ears. I used star tip 16 and iced the cheeks with white stars.  Then using the grass tip, I frosted the rest of her face and ears.  Boy was that fun! I need to find more excuses to use that grass tip... Her inner ears, nose, tongue and eyes were made from melted chocolate.  Whiskers were royal icing.

The cupcakes were a hoot.. I used a #21 decorating tip to swirl the cheek and a #22 to make the fur.  Though I'm sure any star tips would work. The first couple of cupcakes were a little rough, but I soon figured out what I wanted.  Again the eyes were chocolate and the whiskers were royal icing (I had made all the whiskers the night before so they would be stiff in the morning).

Anyway, I'm really happy with the outcome!  Now I want to make cat cakes for everyone!! :)

Saturday, October 13, 2012

Star Wars cake

Well, here we are, another birthday in our family.  My oldest son turned 8 yesterday, and we celebrated his birthday today with all of his friends at the YMCA.  Great Party!  The boys played many variations of dodgeball and were a bunch of happy, sweaty little guys come the end.

For this cake my son wanted something Star Wars.  He gave me a Star Wars cupcake topper set for my birthday last year (hint hint... he is so thoughtful), so I suggested we make R2 but also use the cupcake set and make cupcakes to feed all his buddies.  He was happy with that plan, and so was I.

So first I made the stand a few days ago.  I used cardboard cake rounds (2 per level) that I covered with thick paper.  I found some sparkly ribbon at Michael's and used it to line each tier.  Then I covered a couple of candle pillars with the same card stock and hot glued them to each level.  It was a little tricky, but it worked.  When I put the cake on top it did wobble a bit too much for my taste (candles probably weren't exactly flat)-- so i need to work on this design a bit more, but it sure came out pretty! And that's all that matters right? :)

For R2D2, I made two 8-inch layer cakes.  They rose nice and dome-y, so I leveled only the bottom layer.  I left the top rounded and used a little extra frosting to make it as much as a semi-circle as I could.  I could have chilled, then carved it more circular, but I didn't want to risk all the crumbs getting all up in my business, so I figured it was fine.  I used marshmallow fondant to make the details and used cute little finger lights that ravers use for parties for the two front lights.  For those- I cut little holes in the cake, and when the time was right, I flicked the little switch on the lights and pushed them into the cake.  They worked great!

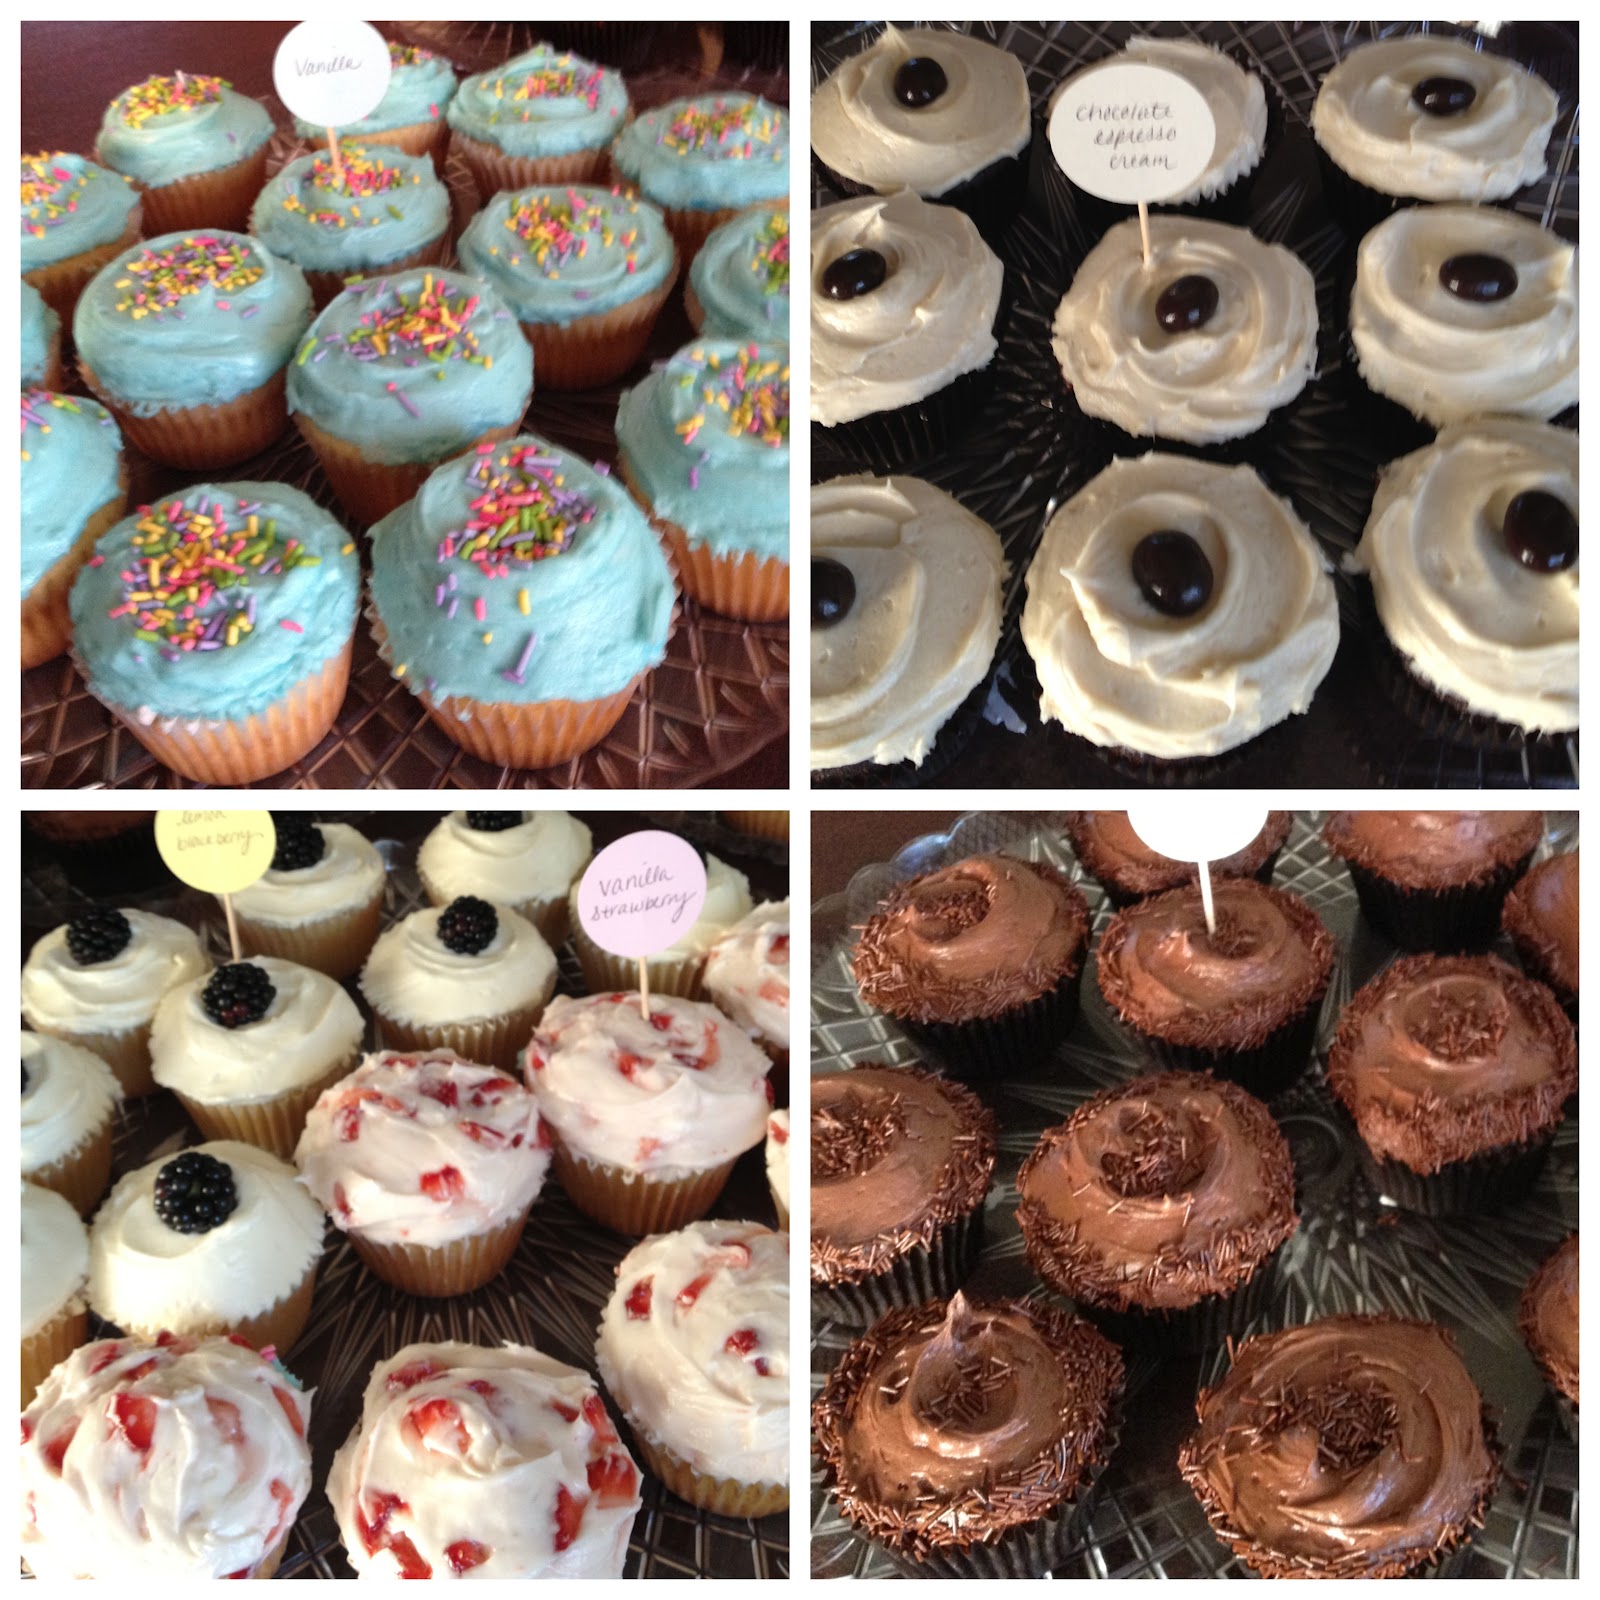
So I iced my cupcakes, put on the toppers, and placed them on the stand all nice.  The kids were so excited, and I think it was a success! :)

Sunday, September 30, 2012

Cupcakes! Cupcakes!

September has proven to be quite a "cakey" month.  I had two occassions of multiple dozens of cupcakes to bake, and I really enjoyed the process... so much so that dreams of my own little cakery keep swirling through my head!  Larger cakes are fun to make, too, but there is a certain ease to cupcakes that requires less worry.  Plus, I get to use lots of sprinkles!

In the past I've used a large "star" tip to swirl frosting on the little cuppies, and while I do like how that looks, I decided to opt for the more "homemade" look that seems to be sweeping the professional cupcake circuit.  And locally, there a few little cake shops that frost theirs that way, so I thought I'd give it a try.

Between the two events, the flavors of this month were chocolate/chocolate (always a favorite), vanilla/vanilla (another solid one), vanilla/strawberry (yum!), chocolate/espresso cream, pumpkin/cream cheese, and lemon/blackberry.  For the lemon blackberry cupcakes, I tried a new cream cheese frosting recipe that uses only cream cheese, vanilla, sugar folded into whipped cream.  It was much lighter than the butter based icings I tend to use and yummy!  I want to try it on a full-sized cake- maybe a banana or carrot- to see how well it holds up to piping and decorating. In the mean time, chomp on these pictures! :)

Monday, July 9, 2012

Wedding Dress Cake and Cookies

The theme of this past weekend was wedding wedding wedding!  One sister-in-law annoounced her engagement, and we threw a bridal shower for another one. Phew!  So needless to say, I've been doing a lot of google and pinterest surfing for ideas.  The design I settled on is rather popular right now as I saw many cakes in my searches with this similar idea.  Some looked fabulous, and some looked.. well... close.  So I was a little afraid of missing the mark.  But in the end I'm happy with the outcome.
I ended up making my own fondant for the dress and flowers on the cake.  I found a great recipe for marshmallow fondant which turned out wonderful.  I will post it below.  Its only ingredients are marshmallows, water, and powdered sugar.  So the end result tastes like a sweet(er) marshmallow taffy type of thing... much tastier than commercial fondant, in my opinion. The inside of the cake was black forest... with homemade cherry topping and whipped cream inside.  Yum!
So I drew out her bodice and gathered various long rectangles together for the skirt.  It took me a few tries, but I finally got it to "drape" in a way that pleased me.  The bouquet was fun... rolling up pink fondant into swirls.  Again, little marshmallow roses were kinda tasty! Add a bead border around the bottom, and viola! finished!
Since this marshmallow fondant was so easy to use, I went ahead and made it for the cookie favors we passed out.  I simply baked my wedding cake shaped cookies and then used my cookie cutter to cut out fondant cakes that I "glued" to the tops with a few dabs of water.  The next morning I used royal icing to decorate the "cakes" and attach my roses.  I've previously used colorflow for these types of cookies, but it can take forever and make a big mess.  The marshmallow fondant was a breeze!  Here's the recipe:

Marshmallow Fondant

8 oz. (or 4 cups mini) marshmallows
1 lb (4 cups) pure cane powdered sugar (plus a bit extra for dusting)
2 Tbsp water Vegetable shortening (for hands)
Food coloring and/or flavoring extracts

1. In a big glass bowl, microwave marshmallows and water for 1 minute, stopping halfway through to mix.  You want them melted until no lumps remain. Stir melted marshmallows until smooth.  Add a 1/2 teaspoon or so of any flavoring you would like (I left it plain for the cake decor but added a 1/2 tsp of clear vanilla for the cookies). Add powdered sugar and mix the best you can.
2.  Turn the marshmallow, sugary, sticky mess onto a clean countertop or cutting board lightly dusted with powdered sugar (I did it on a piece of parchment paper).  Rub some shortening on your hands and start kneading the best you can while gathering up all the sugar it will take.  Your sticky mess will soon become beautiful and smooth and ready to use.  Knead in whatever colors you would like just as if you were using the commercial stuff. Recipe doubles great, too!

Tuesday, July 3, 2012

Marin County Fair 2012

Well, it's that time of year again.  Last year I entered a sandcastle cake in the decorated cakes division of baked goods, and while I did win 2nd place, I really wasn't in the mood to come up with another design and spend the time decorating this year (the whole 3 kids thing has been a little challenging lately). So when I saw the category for a Clover Dairy culinary taste competition, I kept reading and decided to give it a whirl!

In this competition, which was a live tasting with three judges type of thing, entrants were required to use at least three Clover ingredients.  So using Clover butter, eggs, sour cream, and whipped cream, I opted to make my good ole chocolate cheesecake recipe. I just love Clover Dairy and their products.  They are local and affordable.  And I love their mascot, Clo the cow. To make her, I melted some chocolate chips and traced the design on some parchment paper last night.  And when I took it out of the fridge this morning, it peeled off beautifully! Phew!

And... I actually won! First Place AND Best of Show!  There were some other great recipes there, too.  After the judging (and to my husband's delight) the audience was allowed to sample the entries.  Spanakopita, pastas, cheesecakes, pound cakes... yum!  Now I have to start planning for next year! :)

Sunday, April 29, 2012

Wild Wild West!

What a fun can to make! Our priest celebrates his 60th birthday this weekend and the theme of the day is old westerns wild west. For his cake, I decided to re-create an old town with a little bit of humor stashed here and there.  I'm also super excited because I get to use a bunch of fun little tools I got for Christmas! :)
I used fondant to make all the decorations a few days ago, so by the time I put them on the cake they were nice and easy to work with. The lettering on the bank, jail, etc. was made with some really cool letter cutters, and the rope "60" was made using my new silicon rope mold.  I just love them!
We are Orthodox Christian (e.g. Russian Orthodox, Greek Orthodox, etc.), so I dressed our priest in his Easter robe and gave him a little censor to swing. He raises ducks... So I HAD to put them in, too. :) And what wild west cake would be complete without a cowboy and a bandit! So I added those little fellas, too. For the gold dome on the church (and a few other little places), I mixed some gold luster dust with lemon extract and "painted" it. Behind the decorations is just tradition buttercream- my icing of choice! 


Cake details: top tier- 8" vanilla cake filled with strawberries and whipped cream. Bottom tier- 10" chocolate cake with fudge buttercream filling. Cupcakes are an assortment of chocolate and vanilla iced with buttercream and topped with matching sprinkles.

Saturday, January 21, 2012

1st Birthday

Well, this past Thursday was my little girl's first birthday.  Being the 3rd child, and the *only* girl, I opted for a pink cake.  And since her middle name is Rose, roses were the theme of the day.
For her smash cake I used a 4" mini cheesecake pan.  Her cake is a simple whipped cream filing sandwiched between two layers of golden yellow cake.  The remaining batter was used for the "leftover" 8" cake to be enjoyed by the rest of the family.
Note to self: When coloring icing, especially pinks, the colors tend to deepen as the icing sits.  And it would probably help not to tint the icing in a dark kitchen while watching late night TV... as the color you end up with may be much more pink than expected! :)

Wednesday, January 11, 2012

Baby Blues

Oh, how I love making baby cakes, and this past weekend's cake was no exception. This chocolate/chocolate cake was adorned with buttercream roses and fondant baby shoes. The shoes may look complex, but they're actually quite easy. Just google "fondant baby shoe pattern" and all kinds of options pop up!